Alice Stuck in Wax

I recently had the opportunity to watch a demo with Suze Weinberg using beeswax. I have made a few collage pieces using beeswax but following some tips that Suze mentioned made all the difference in the ATC's I made.

She builds up layers of beeswax before she applies her collage images. And scrapping the final application I think is the big secret.

The photos don't show all the details...i.e. perfect pearls powder that was added and the texturing.

My base is stampboard material.


B * I * N * G * O

An artist in my art swap group requested an altered Jenni Bowlin bingo card. This was a really fun project for me because I also requested an altered bingo card. Altering is one of my favorite art challenges.

A vintage photo of two children were in my stash just waiting to be altered!

After scanning and resizing to the proper proportions of the bingo card, I colored their clothes using Copic markers.


I added a "love" charm along with pink felt flowers in different sizes. Lace was added to the bottom border.

The children's hands were poised just perfectly for holding objects, too!


This is the front side view. I mounted the bingo card onto a larger decorated matboard and added a ribbon hanger.


This is the opposite side of the bingo card. I used the new Tim Holtz Bingo texture folder and metal from Ten Seconds Studio. The metal was sanded.

The stamped image is from Catherine Moore's Character Construction collection and colored with Copic markers.

Bookmark for Judi


The request was to make a bookmark with a photo or an interesting fact about yourself. My dilemma was using a childhood photo when I only have about three to choose from.
I decided on a photo when I was three (enlarged)..... and being the cowgirl was easy. I used a clear plastic tag. The collage was made after first applying the alcohol inks.
I couldn't resist sewing and adding the suede trim at the bottom.

Electric Charge

We all know the familiar types of charges....MC, Visa, Discover. I experienced a new type of charge....the kind for artists. It's called an "electric" charge.

Snoopy Dance includes:
Trip to Dallas: 240.63 miles
Travel Time Estimate: 3 hours, 59 minutes
Cost of Fuel: $47.00
Cost of Tim Holtz's classes $285.00
Lucky Participants Per Class: 75
Receiving the #10 ticket to register:
P R I C E L E S S

A special thank you to Monica, Donna, and Melody. The crowd was impatient, unruly, and unappreciative and yet you all remained professional, patient, and kind. Your customers can easily forget your time and effort that is involved in preparing for instructors to teach classes. Thank you for giving Tim Holtz a destination to teach classes. There are so many artists who do not have a store close where they can have the privilege of taking a class from Tim. And your store along with your amazing staff is worth all of my effort.

Stamp Asylum ROCKS!

Here are the photos of the classes that I will be taking.....I can hardly wait!


Mrs. Brady

My recent purchase of Artistic Outpost stamps along with the text pages that were removed from an old book, came together for some fun ATC's.

The coloring was made using Copic markers. This time, I made ATC's without a whole lot of embellishments!

This is the end result of lots of fun!

I'm Late!

"Technique bonanza" was used in making this ATC. I used chocolate color metal and a clock mold both from Ten Seconds Studio and ran them through my BIG SHOT machine. Then I placed the metal only through my BIG SHOT to completely flatten it. I then covered card stock cut to the ATC size with the metal. A "wheel" was used for texturing the edges of the card.

The white rabbit rubber stamp is from Artistic Outpost. I stamped the rabbit image repeatedly onto different color card stock to make his clothes. His scarf was made from purple crepe paper.

The umbrella and buttons on the vest were made using Adirondack Dimensional Pearls. The image was cut out and glued onto the metal. Copic markers were used to add just a pinch of color to the white rabbit.

Diet? What Diet!

The desserts at Maggianos Little Italy were exceptional! We all gained five pounds....but what an awesome excuse!


Anthropologie Eye Candy

This is one of the many reasons to enjoy St. Louis. I heard through the grapevine that a store is coming soon to Tulsa!


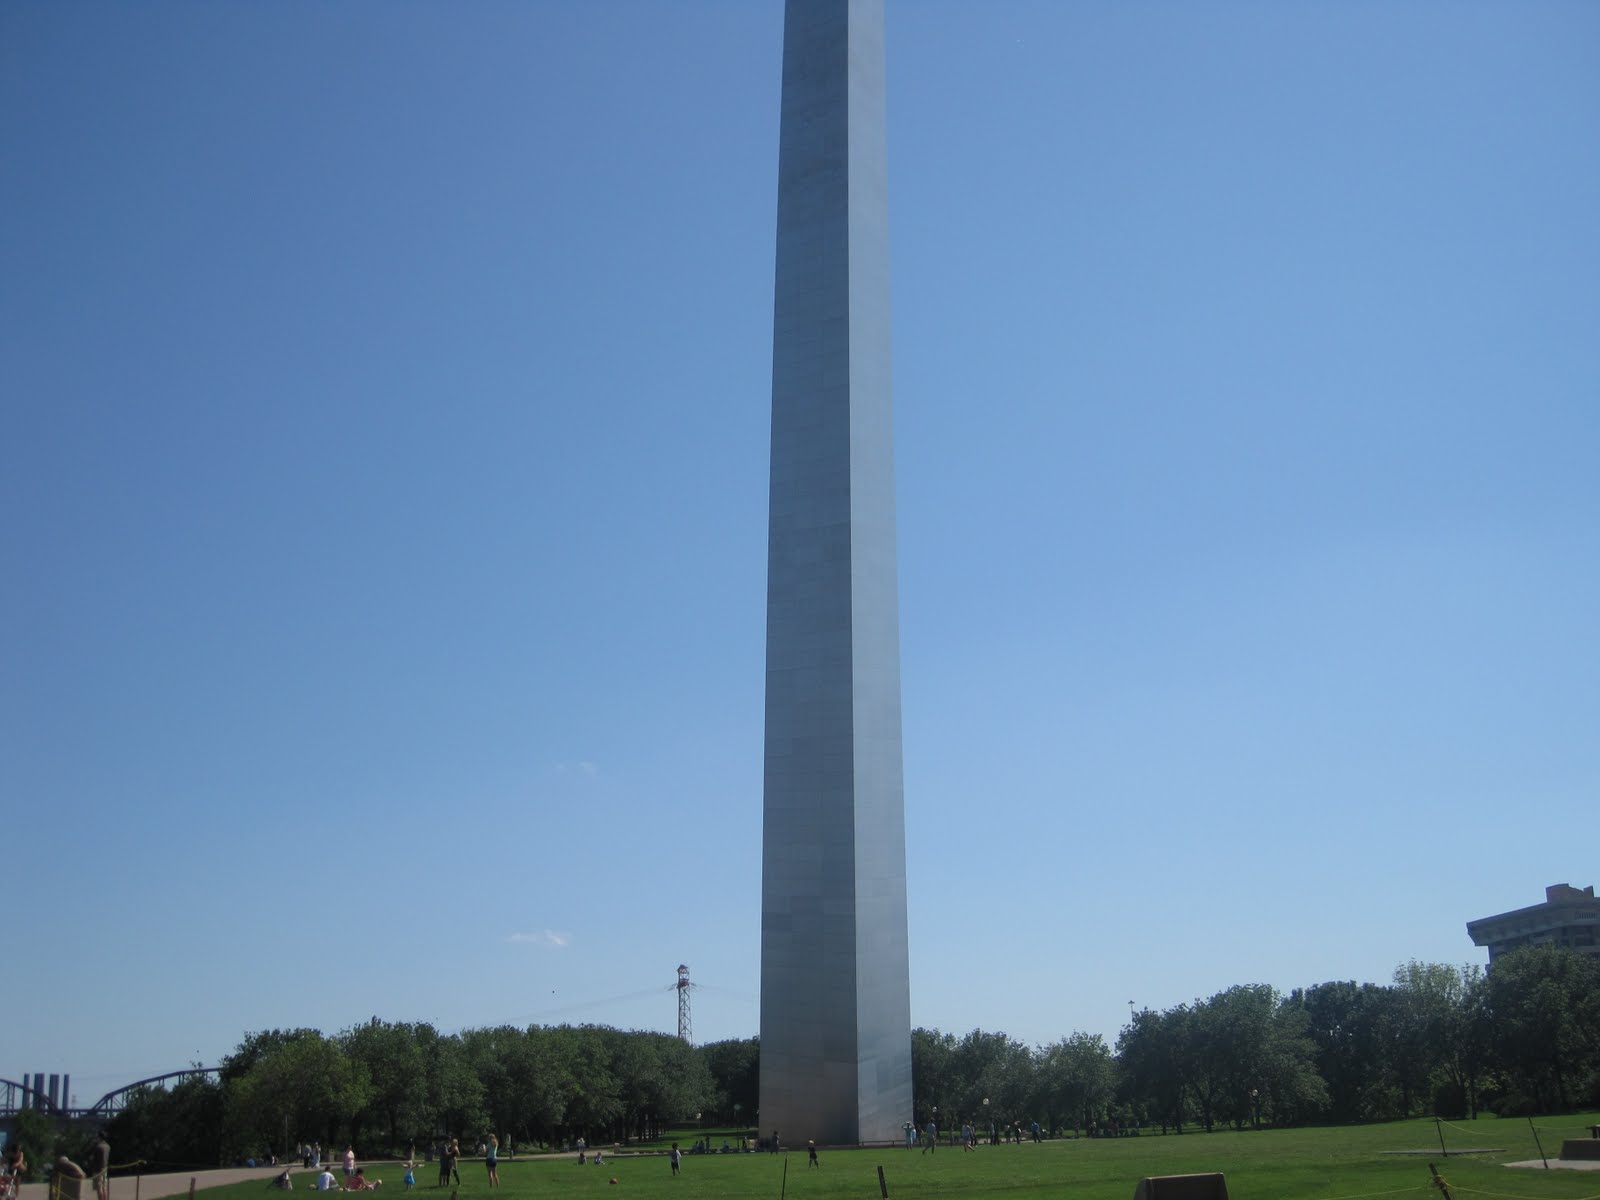
Jefferson National Expansion Memorial

Did you know that it is the Arch in St. Louis? We wanted to buy tickets to take a ride to the top. I've been to the top before to see the awesome view and thought that would be really a cool experience for my girlfriend. But it was closed that day! However....we'll try again!


The base is larger than one realizes!


This is the view when you rest your body against the arch looking straight up!

Symbol of Freedom


I absolutely love our flag and our country. I enjoyed the July 4th holiday in Arkansas with my sister Annie. We spent our time sitting on the front porch working on our projects that we brought with us, took time to antique, and ate lots of great food from the grill!

The Art of Entertaining

OMG....if you are in the St. Louis area...I highly recommend stopping here for their FAMOUS cake glitter balls! YUMMY SUPREME! And doesn't their shop look adorable?!! And their service is soooooo friendly too!


You can see the cake glitter balls in the showcase. The yellow ones are made with the white cake flour and the pink ones are chocolate!

You can not eat just one!!!!


They also serve lunch and do catering!


This is a paper flower outside on the building.


This will be on a radar for each STL visit!

Cowgirl Annie

I absolutely think the new Tim Holtz Alterations Texture Fades are FAB!


A dark brown Copic marker was used on the black metal after it was lightly sanded. The same color marker was used to change the gold color name plate to coordinate with the bingo card.


I've taken a Copic marker class from Allie and it was definitely worth the time and $$!


Allie taught me the technique for altering the star chipboard. This special technique gives so much dimension to such a small item! She'll be happy to teach you this technique, too!


The vintage photo was from my stash and I thought the little girl in the photo looked like a precious cowgirl. So I gave her instant history as Annie Oakley! The trim at the bottom was purchased from a delightful quilt shop in Arkansas.


Everything was mounted onto a black matboard and edged with a copper pen. Copper eyelets were inserted. The final touch was the twine knotted for hanging.