Showing posts with label Ranger Products. Show all posts

A few favorites....

I absolutely love Dyan Reaveley's journal made by Ranger!  Oh my goodness, you have the freedom to use all types of mediums - super nice!
I tend to make background pages using different colors, stencils and stamps.  Then later, I make my journal pages that work with the backgrounds I made. 
I wasn't sure what to do with the pink/red and bits of green but then Christmas called out to me.
This has become one of my favorite pages that originally was a bit of a nightmare.  I turned the too dark purple into a lush deep midnight blue - perfect for angels.
This spread was done using paints instead of inks. It's a challenge to letter on top of paint - so I probably won't make too many pages using paint, however, I did like how this turned out.

Coming Soon....

It's been soooo long since I posted that I almost forgot I had a blog!

I have four finished journals that I'll be sharing photos plus other tidbits in the next few days.  The vintage algebra book will be posted first.
It's packed full of delicious goodness!

RangerInk Swap


I couldn't resist the RangerInk swap challenge of the 6x6 swap of "no theme" and using Ranger products to create and to embellish. I love "no theme" challenges because I find creativity flows easier for me. With Halloween approaching I thought of using Tim Holtz's rubber stamps for the season. Good thing I had these on hand. Ninety percent of my rubber stamp collection was in storage.

Creative Blocks

I recently took a Tim Holtz class called "Creative Blocks". Tim always has his classes so organized with color photos and instructions! He also provides all the tools and products you will need for a class. Just bring an apron!


This is the planning process.


After deciding where I wanted the different size canvas....I marked the original with x's.


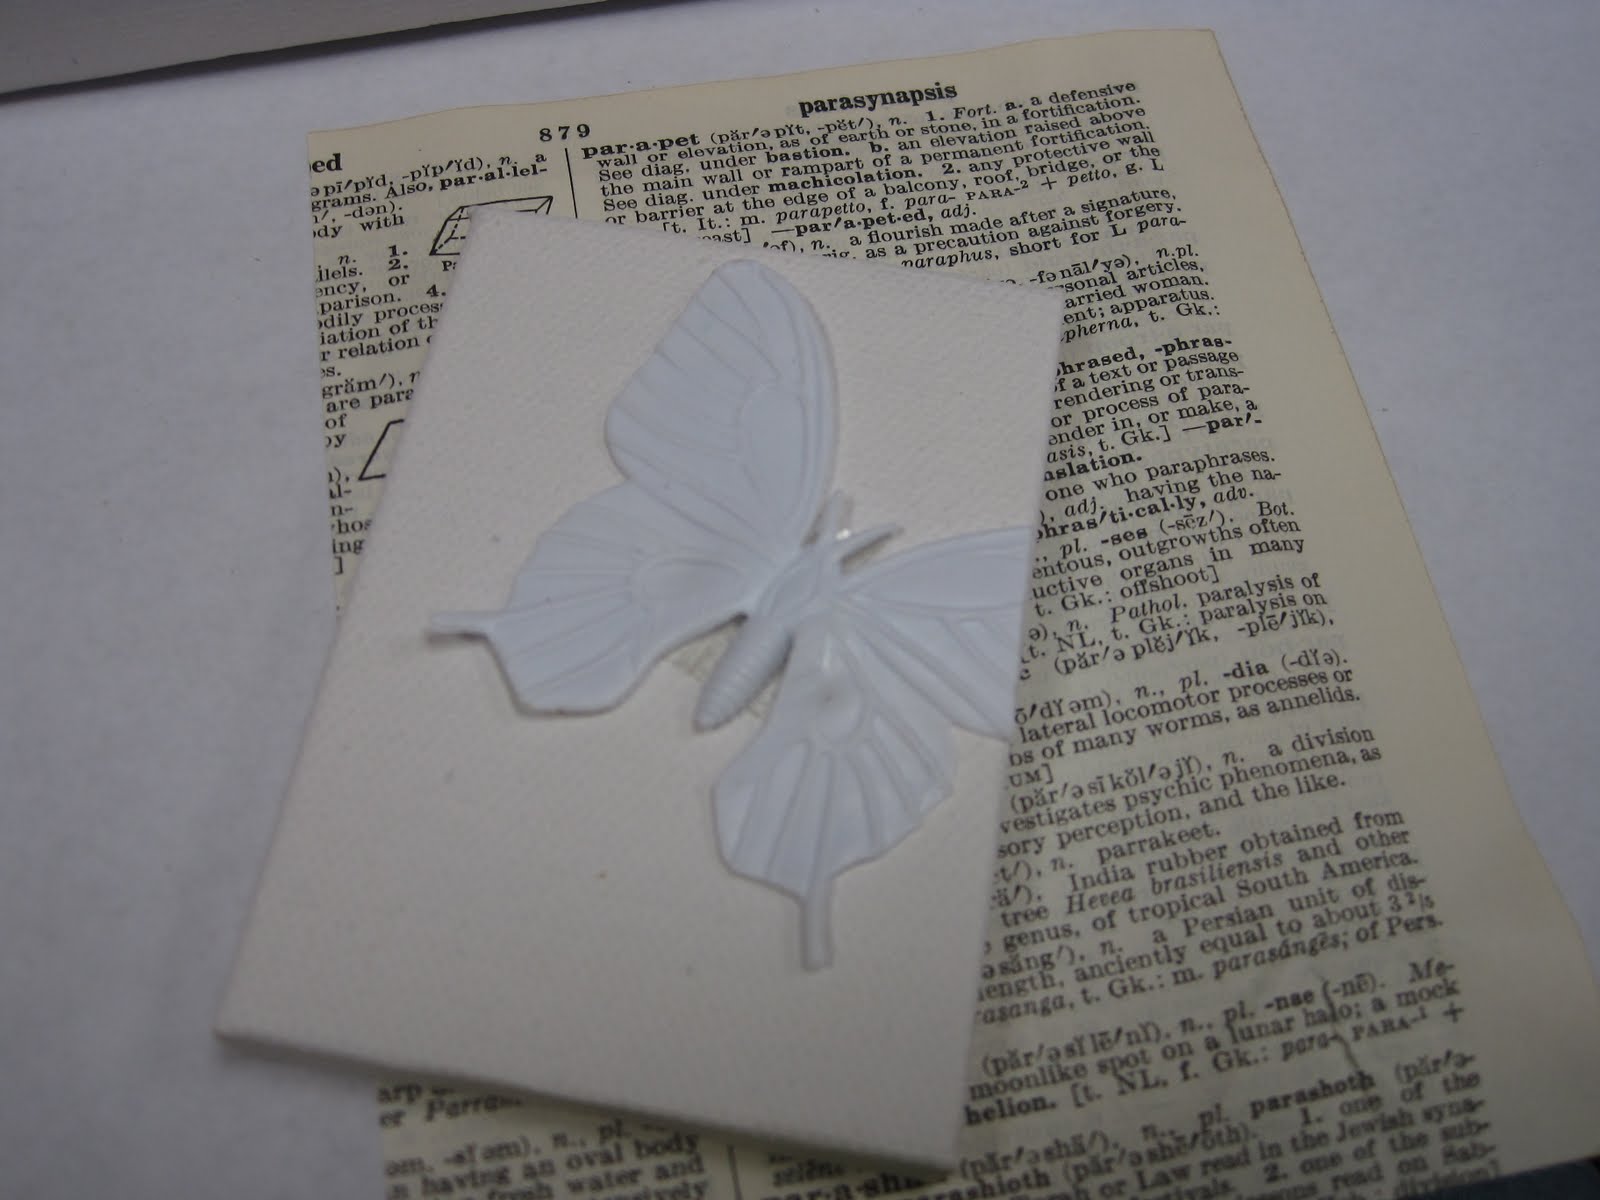
Here I am preparing one of the canvas with a butterfly image.


I wrapped all the canvases with dictionary paper.


Decisions, decisions.....so many paper choices!


Wax was floated on top of images.


My canvas project is beginning to look interesting.


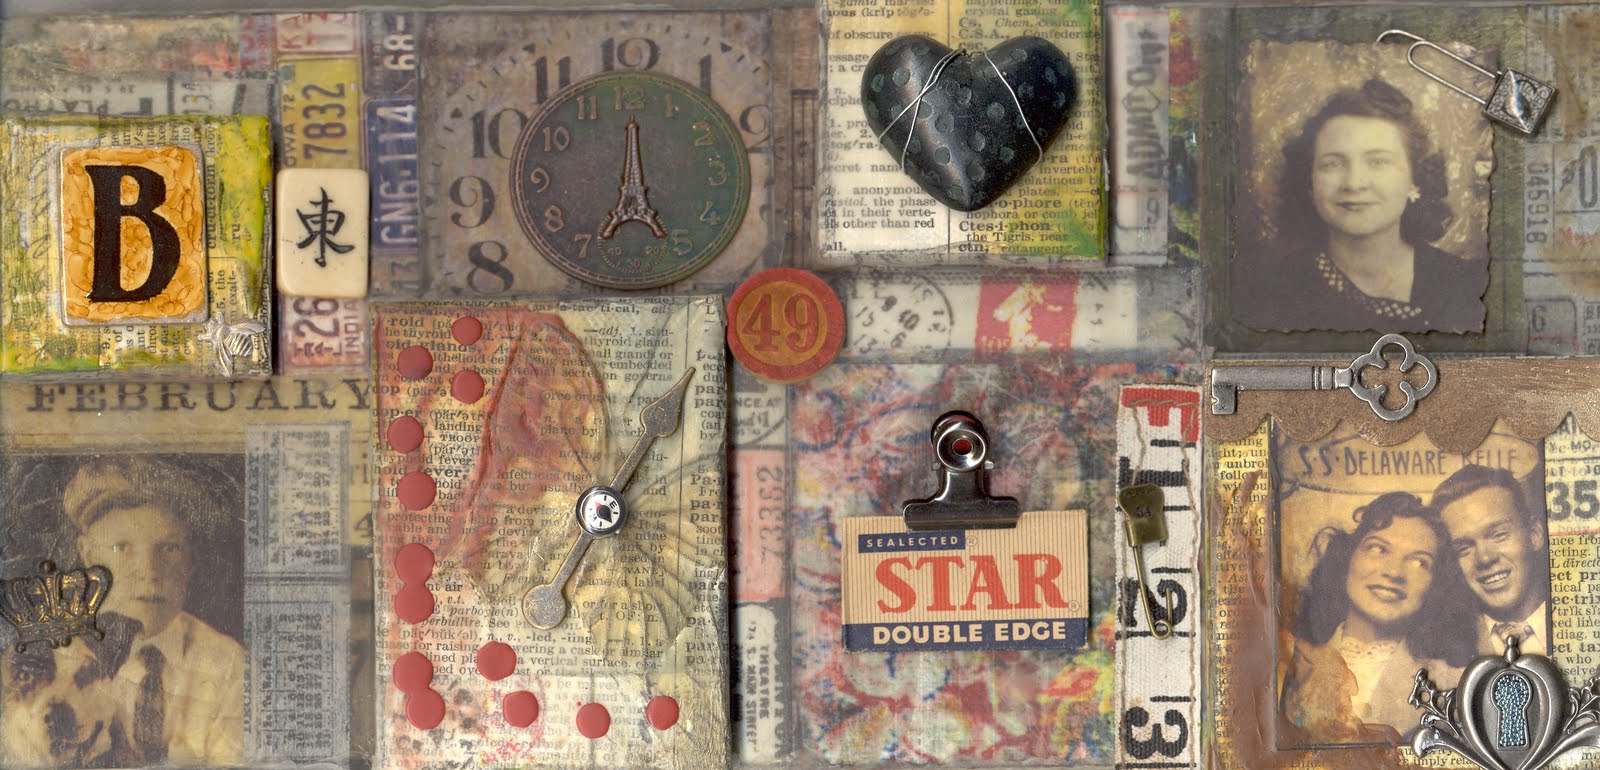
This is my final canvas piece. Fun, Fun, Fun!

Minori's Christmas Bird

My friend Minori in Japan requested for her exchange a bird for her Christmas tree. She absolutely LOVES Christmas!

I made her bird using grungeboard material instead of chipboard. I thought the durability would be better.

I added a tiny Christmas tree as his hat after my husband cut a slit into the wooden stand. I was able to mount it to the bird using a few glue dots. Trim was added to hide the space between the wooden stand and the bird's head.


This is a closer view of the Santa I cut from a Graphics 45 paper. The Tim Holtz frame is perfect to showcase the vintage Santa.


My art friend, Susan from Stamp Diva showed me how to make paper rosettes. Thanks Susan! I used Christmas paper and added a vintage image of a little girl with her tree.

I applied the image to red background paper and then used a one inch circle punch. Green stickles was added to the tree and allowed to dry. Then I added Glossy Accents on top. Five bells were tied at the bottom. I hope you love it Minori!

Generation Grunge

This was my last class with Tim Holtz. I can not begin to explain how generous Tim was with his knowledge of techniques and gobs of ephemera AND gobs of product that was included in each class!
The inside pages are "Grunge Paper". I love this product! The page on the left has a "spinner" which is very cool....just spin it around!

There are quite a few pages in the book. You can actually purchase the kit which is called "Grungebook" that has the 6x6 grungeboard cover and 6 grungeboard pages. (You can always order from Stamp Asylum-reasonable shipping, too!)

Transparent Illusions

I LOVED this class! I had approximately 80 tiles to make art....and gobs of techniques and information! Tim was super generous with ephemera, too! Here are some beginning photos.


This is just the beginning!
This is the stash I completed in my studio at home. Now I have lots to choose from when I am making art projects!