Flower Power
I know I have way too many things on my art work table, however, I get inspired by flowers!

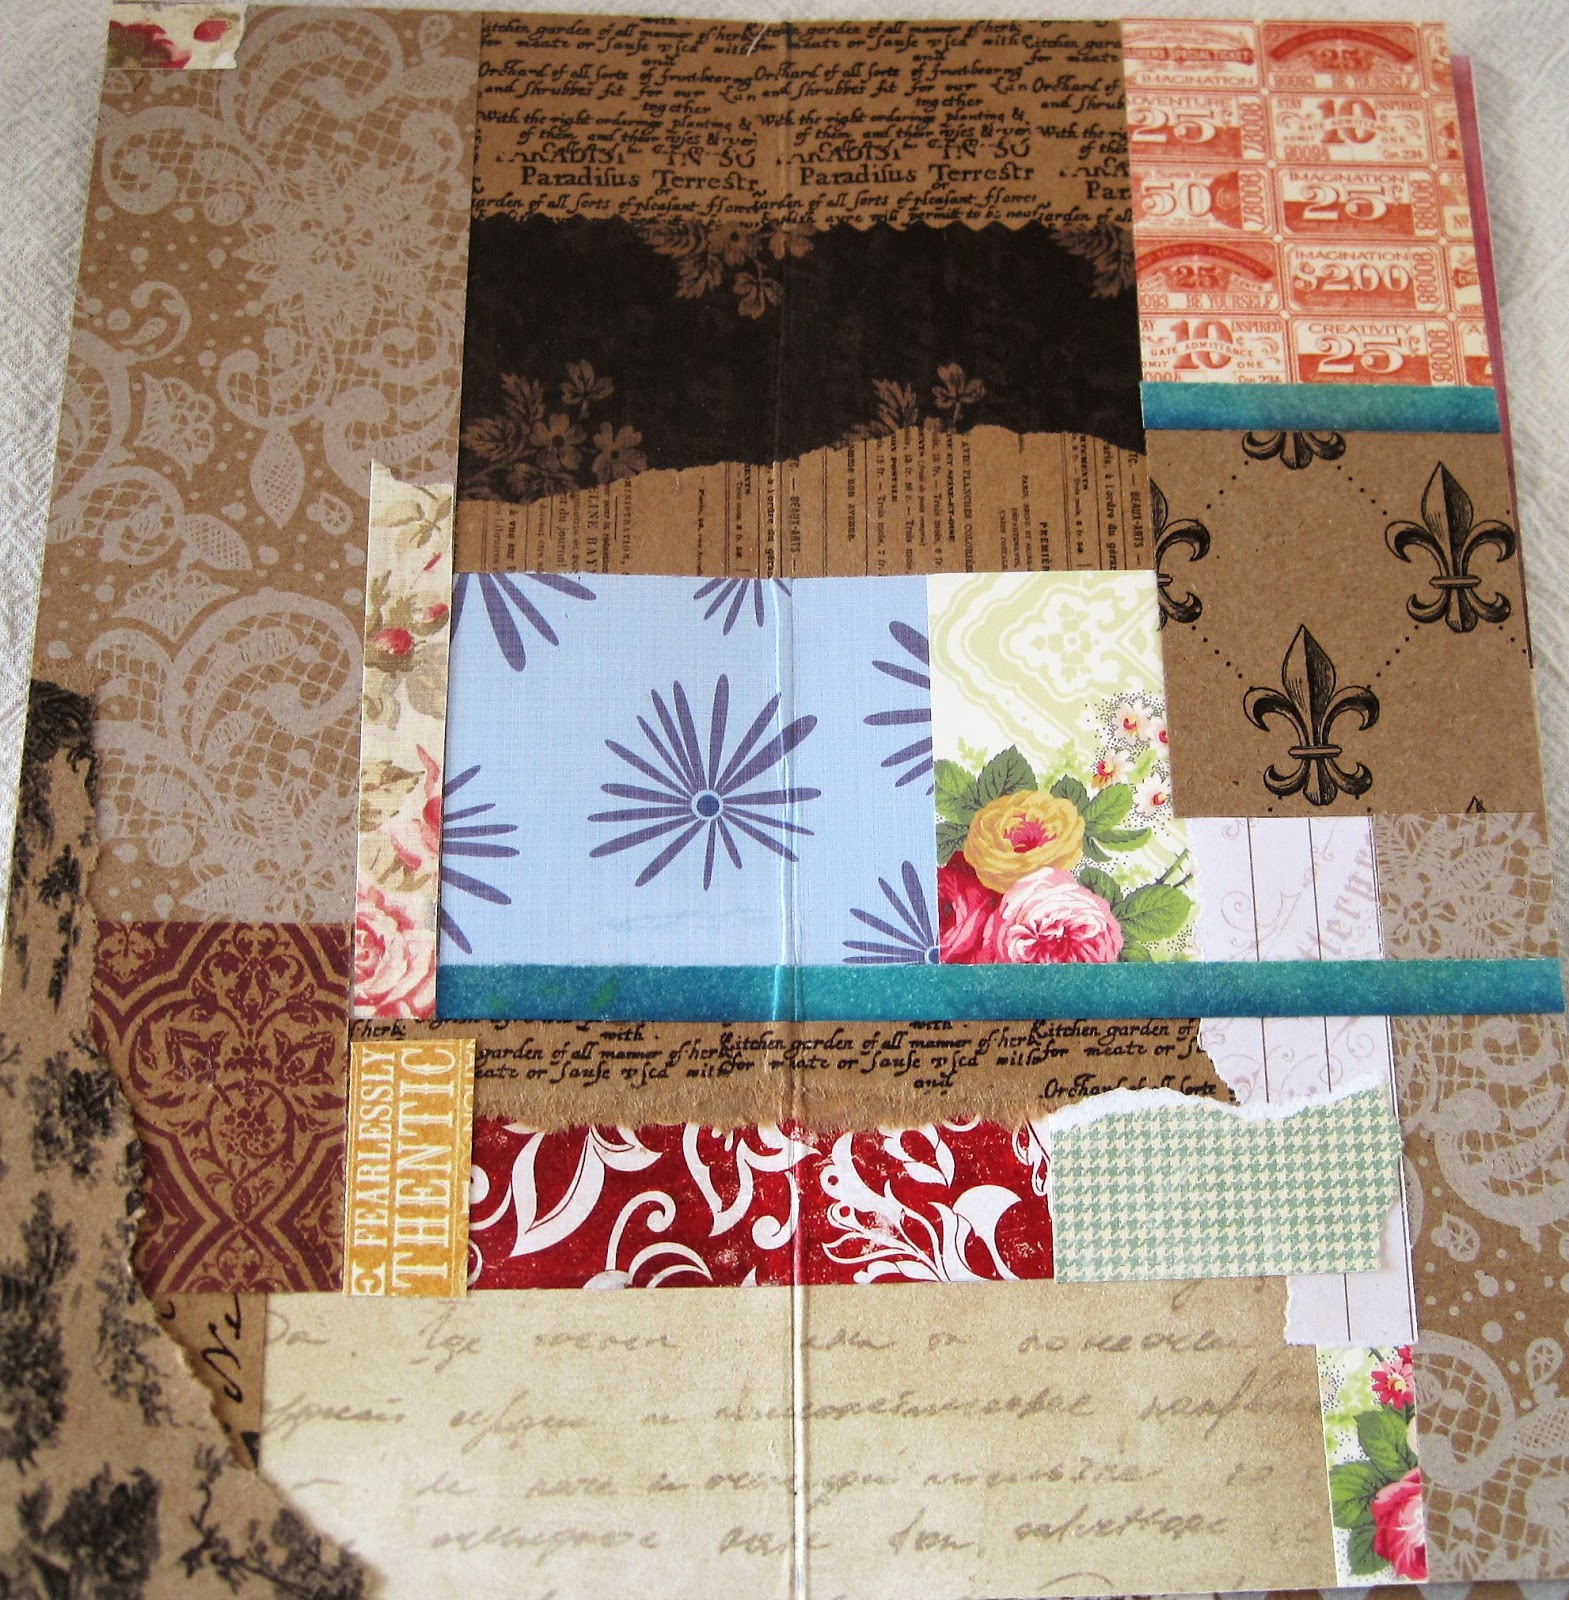
Inperfection
I have given this book the title of "Imperfection" for lots of reasons. First, it is made from the scraps from carpetbag books previously posted. Below are photos of the pages I made from the scraps. I quit making pages when only tiny bits of paper were left in my scrap pile and those I tossed. I HAVE to use the scraps before the pile takes over my work space and BEFORE I can begin a new project.

The pages below are loose and I will not bind them into the book. This size book is a TN size and I am using a rubber band to hold the pages together. The pages are now ready for me to add my personal ephemera and journal notes.


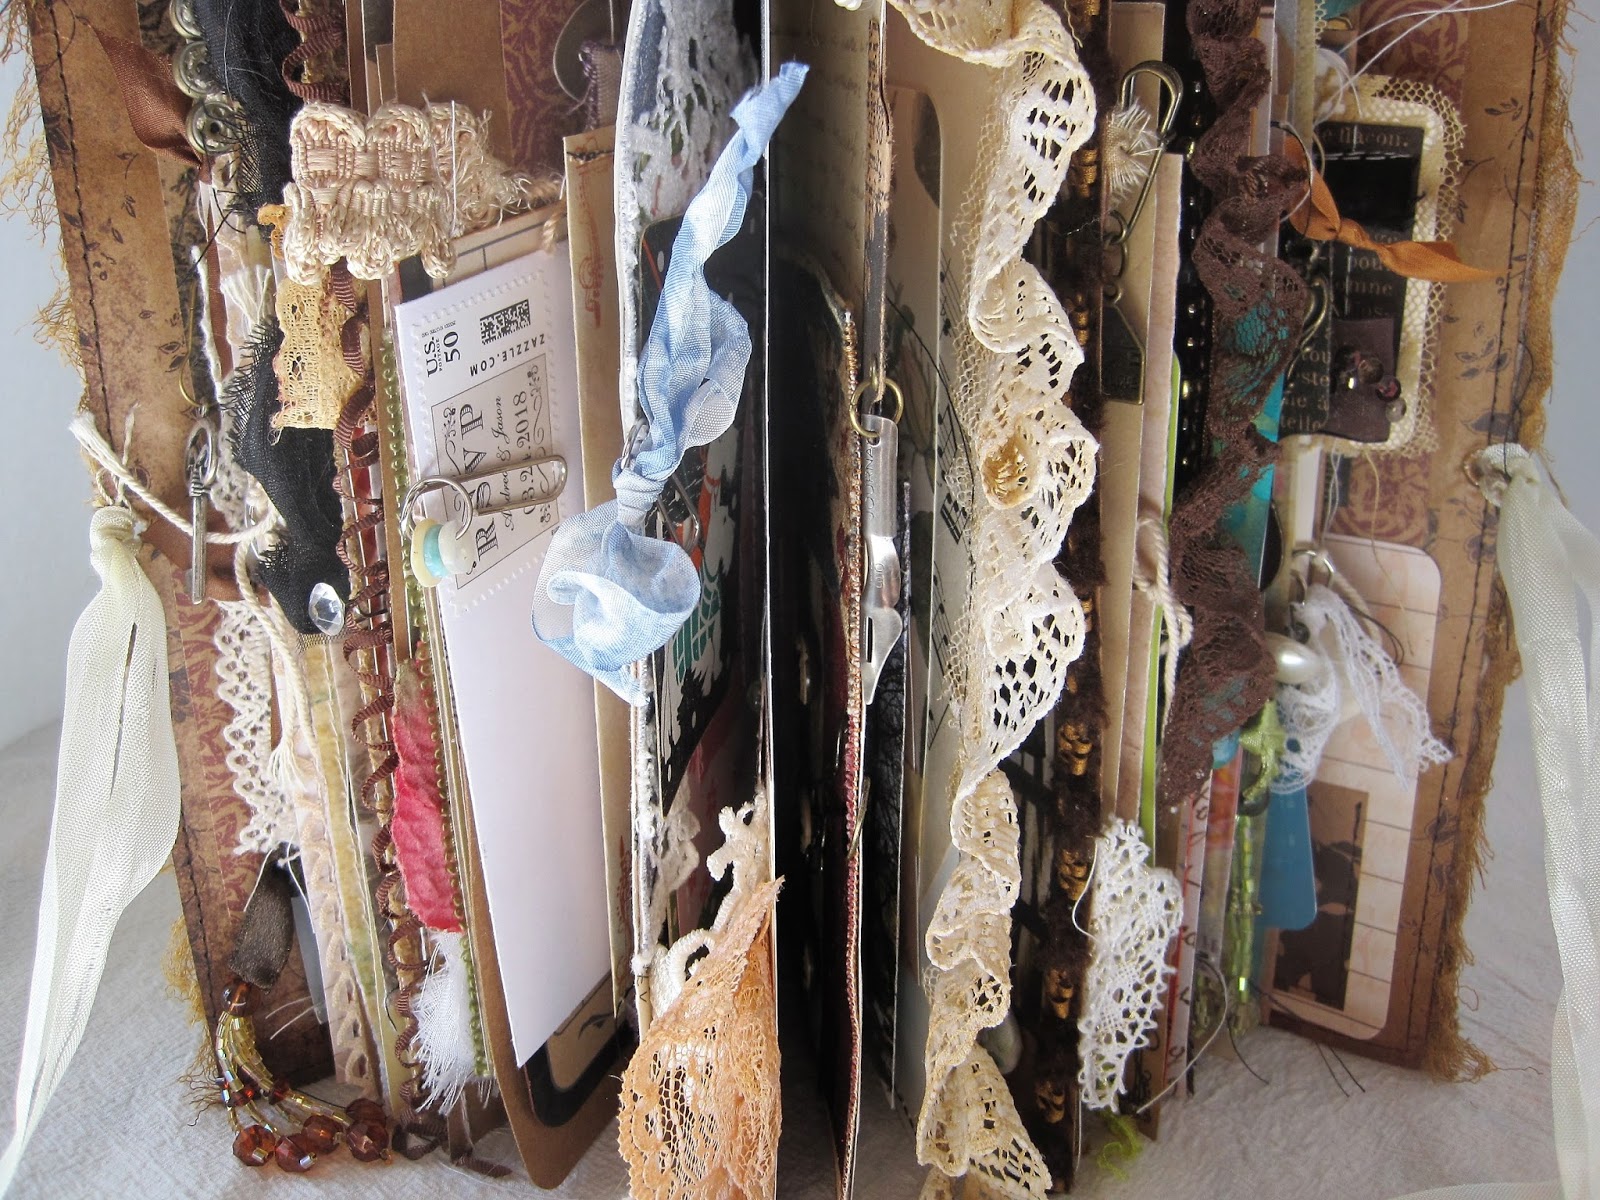
Simply Devine
I am now using lots of textiles from laces, trims, and ribbons to add interest to my journals. I am loving the process!


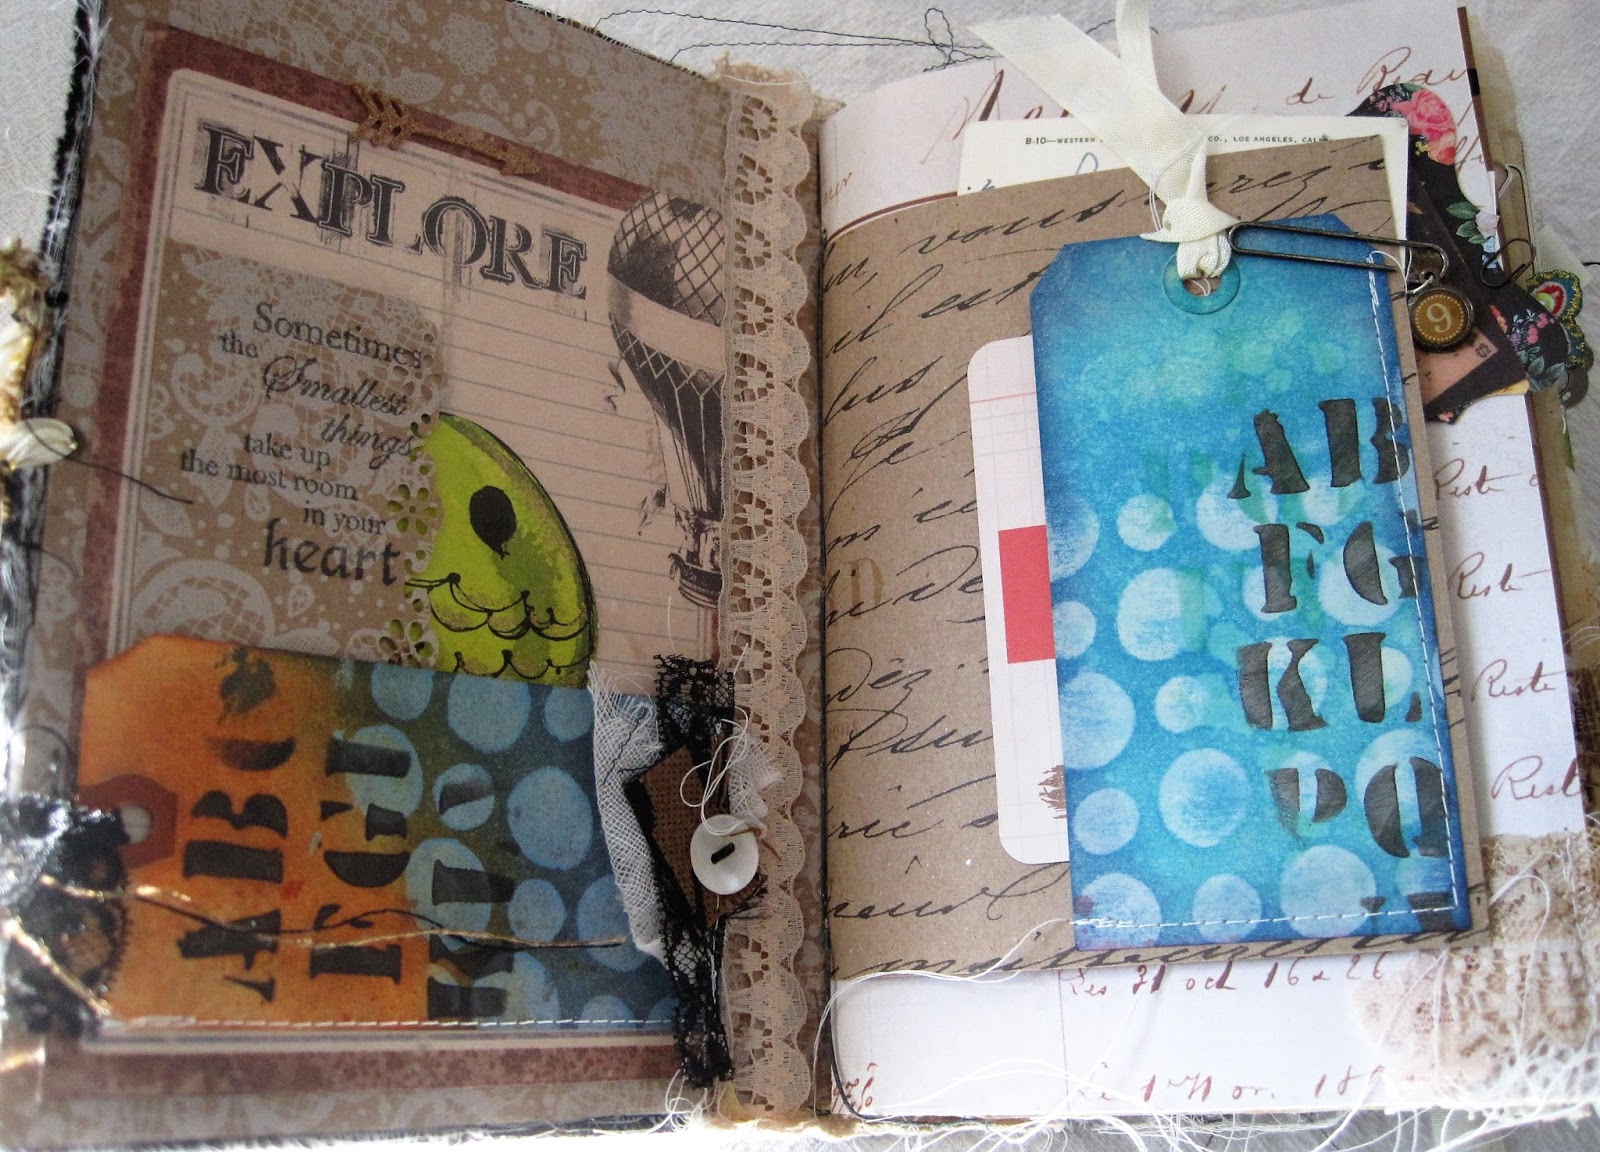
Fun Future Trip
My husband and I took a short vacation after a conference in Duluth and met this delightful pilot who loves, loves his plane and his work. The next time we are in the area, we're going to schedule a tour by air with him! That's what happens when you are open to exploring a new area.


A Time of Wonders
This is the last of the carpetbag books in the series of 3 posted below.

Below are some of my favorite pages.


Along The Passage
This is my carpetbag journal number two..... I had an immense amount of fun putting this book together. I am learning what I want to do and not want to do after each book I am making. At some point, I will have the process made easy and then I'll be ready to teach!

Below are some of my favorite pages.


Little Things
This the first book in the series of three carpetbag journals. I made the pages from all kinds of sources and in all sizes. It was fun to use the bits and pieces from my scrap piles too. Of course, there is plenty of rubber stamping too!

Below are some of my favorite pages - pockets that hold all sorts of notes tucked inside.


Subscribe to:
Posts (Atom)