Showing posts with label art projects. Show all posts

Simply Devine

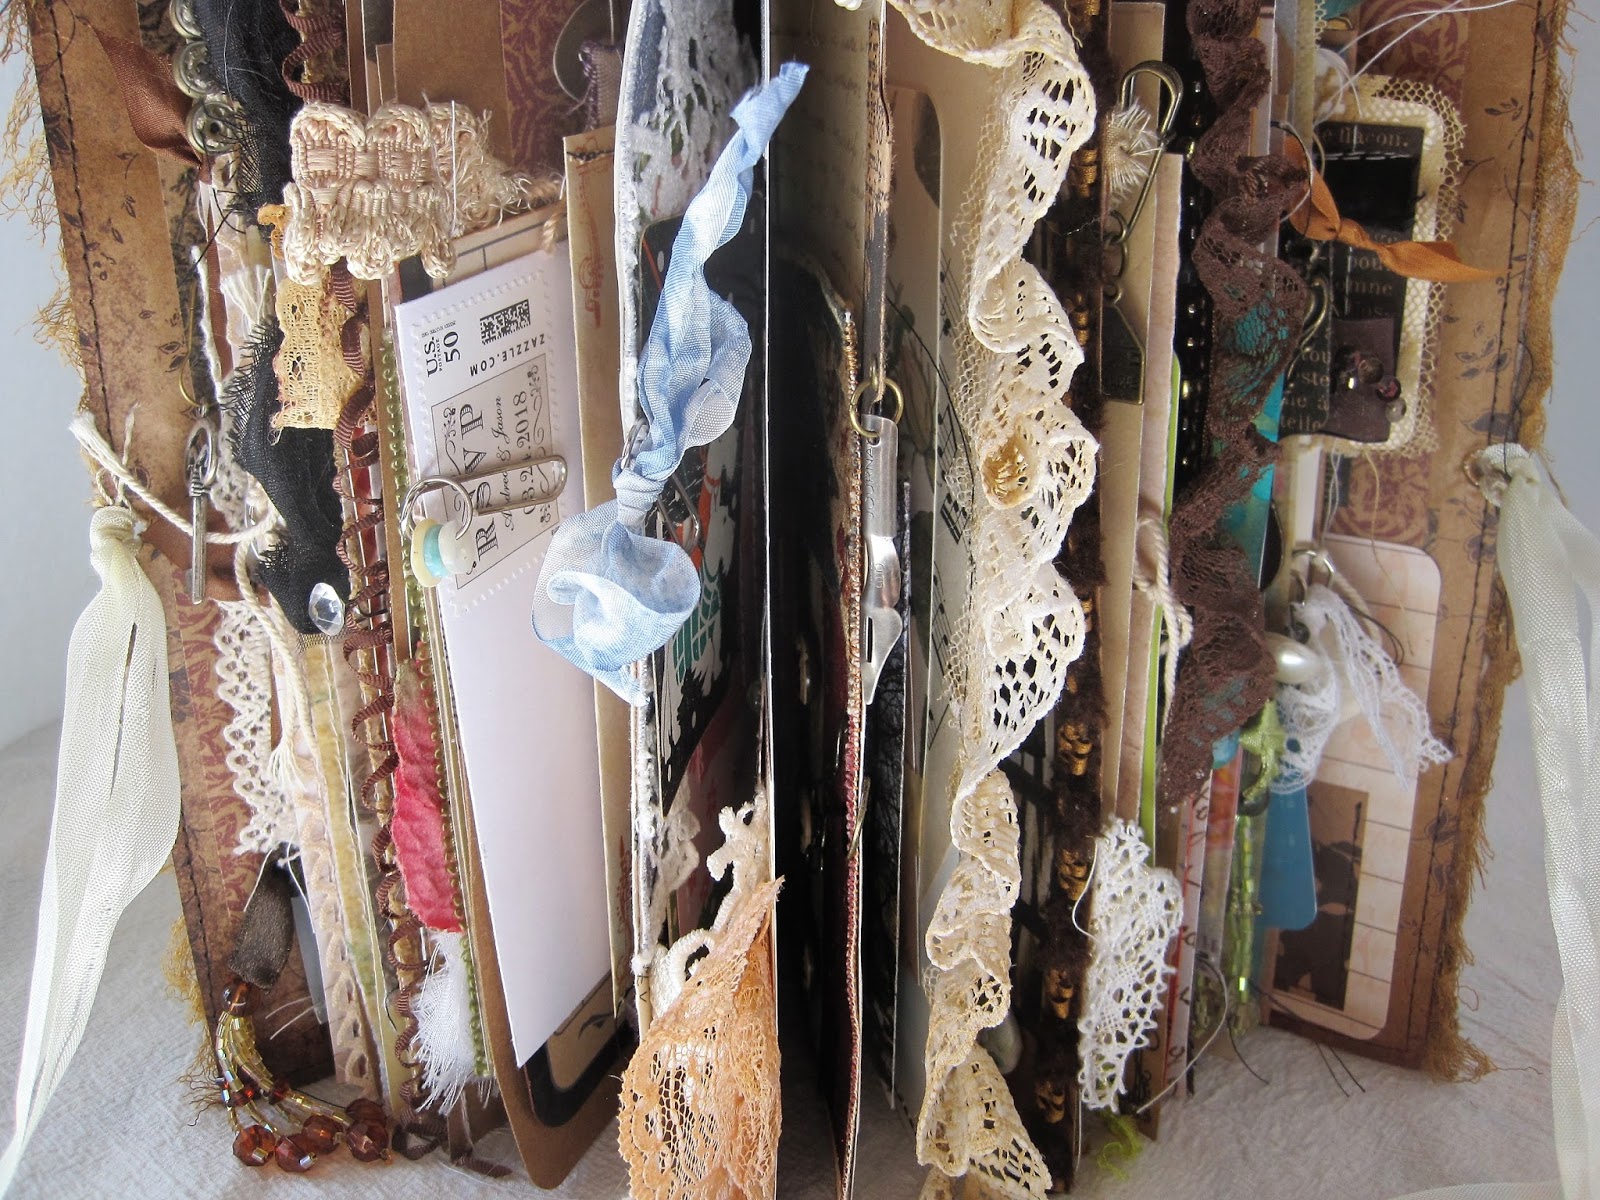
I am now using lots of textiles from laces, trims, and ribbons to add interest to my journals.  I am loving the process!


A Time of Wonders

This is the last of the carpetbag books in the series of 3 posted below.
 Below are some of my favorite pages.


Along The Passage

This is my carpetbag journal number two..... I had an immense amount of fun putting this book together.  I am learning what I want to do and not want to do after each book I am making.  At some point, I will have the process made easy and then I'll be ready to teach!
 Below are some of my favorite pages.


Iowa

Thank you to the late Lisa Englebrecht who taught me how to do canvas/fabric pages. These pages are canvas in the Dina Wakley's mixed media art journal. I had so much fun with the painting, sewing, layering of textiles and then calligraphy as suggested by Dina herself. I am happy with the result. It's good to keep in mind her mantra of "Oops, oh well!"

Tribute to Susan

It's a new beginning for the members of our art group. There have been a few artists that joined our group and left but there has always been the core group of six artists that participated from the very beginning which is now about fifteen years. We were fortunate to have Susan who was our moderator. I'm certain it hasn't always been an easy task. We were probably a bit like herding kittens. I had requested that each member of our current art group make a signature with the theme of "In the Company of Women". I would bind the book when all the signatures were completed. There were amazing pages and I made a private link so the group could view everyone's art. I've posted my contribution for Susan showing my steps to completion.


Let Them Eat Cake!

I saw this project in an old Somerset Studio issue and it was very interesting to me. If you see something you want to make, you just have to know that you'll be engineering it yourself because as with ALL Somerset Studio project articles, the instructions are always incomplete. The good news is that this was my first attempt and I learned a lot of what to do and what not to do. Already I am looking forward to making the next cake.  Look out Betty Crocker!


"Define It" by Sharon

Sharon loves letter forms and words in addition to being a mixed-media artist.  She was recently a guest artist in Stamper's Sampler summer issue featuring her amazing cards along with a wonderful interview.  She altered an existing calendar for "Define It" giving each participating artist an opportunity to use images, photos and rubber stamping to define their chosen letter.  I selected the letter "P" for Pisces.  I so enjoyed working in her book! 
I love the idea of altering an existing calendar and I'm now inspired to alter one from my personal stash!

I adhered blue mulberry paper to represent water.
Loved using my Pisces stamp!  I added star embellishments everywhere there was a star in the stamp design.  To emphasize the theme, I added text using a label gadget.
The images of the bathing beauties are from Graphic 45. 
The fish man is one of my favorite rubber stamp images.  He so much fun to dress in different clothes which takes a bit of fussy cutting and planning but worth all the effort!
I think Sharon will especially enjoy the collage work on this page.  It was fun adding different textures.
This was my last page - Sharon requested that we do four pages.  I added the yarn to the edges of each page and sewed tabs using the extra canvas from the background I used on the 1st page.  I dyed the canvas material using Tim Holtz sprays and stencils several years ago for a major project.  I have small sizes left that I enjoy using in my art.  My stash is almost depleted and I will need to take time to do more.   It's a messy process and I like doing a bunch so I have a supply on hand.
The odd shapes are from a piece of jewelry that I took apart.  I think they make interesting "pretend" stones or shells.  I added bling where the hole was drilled.